
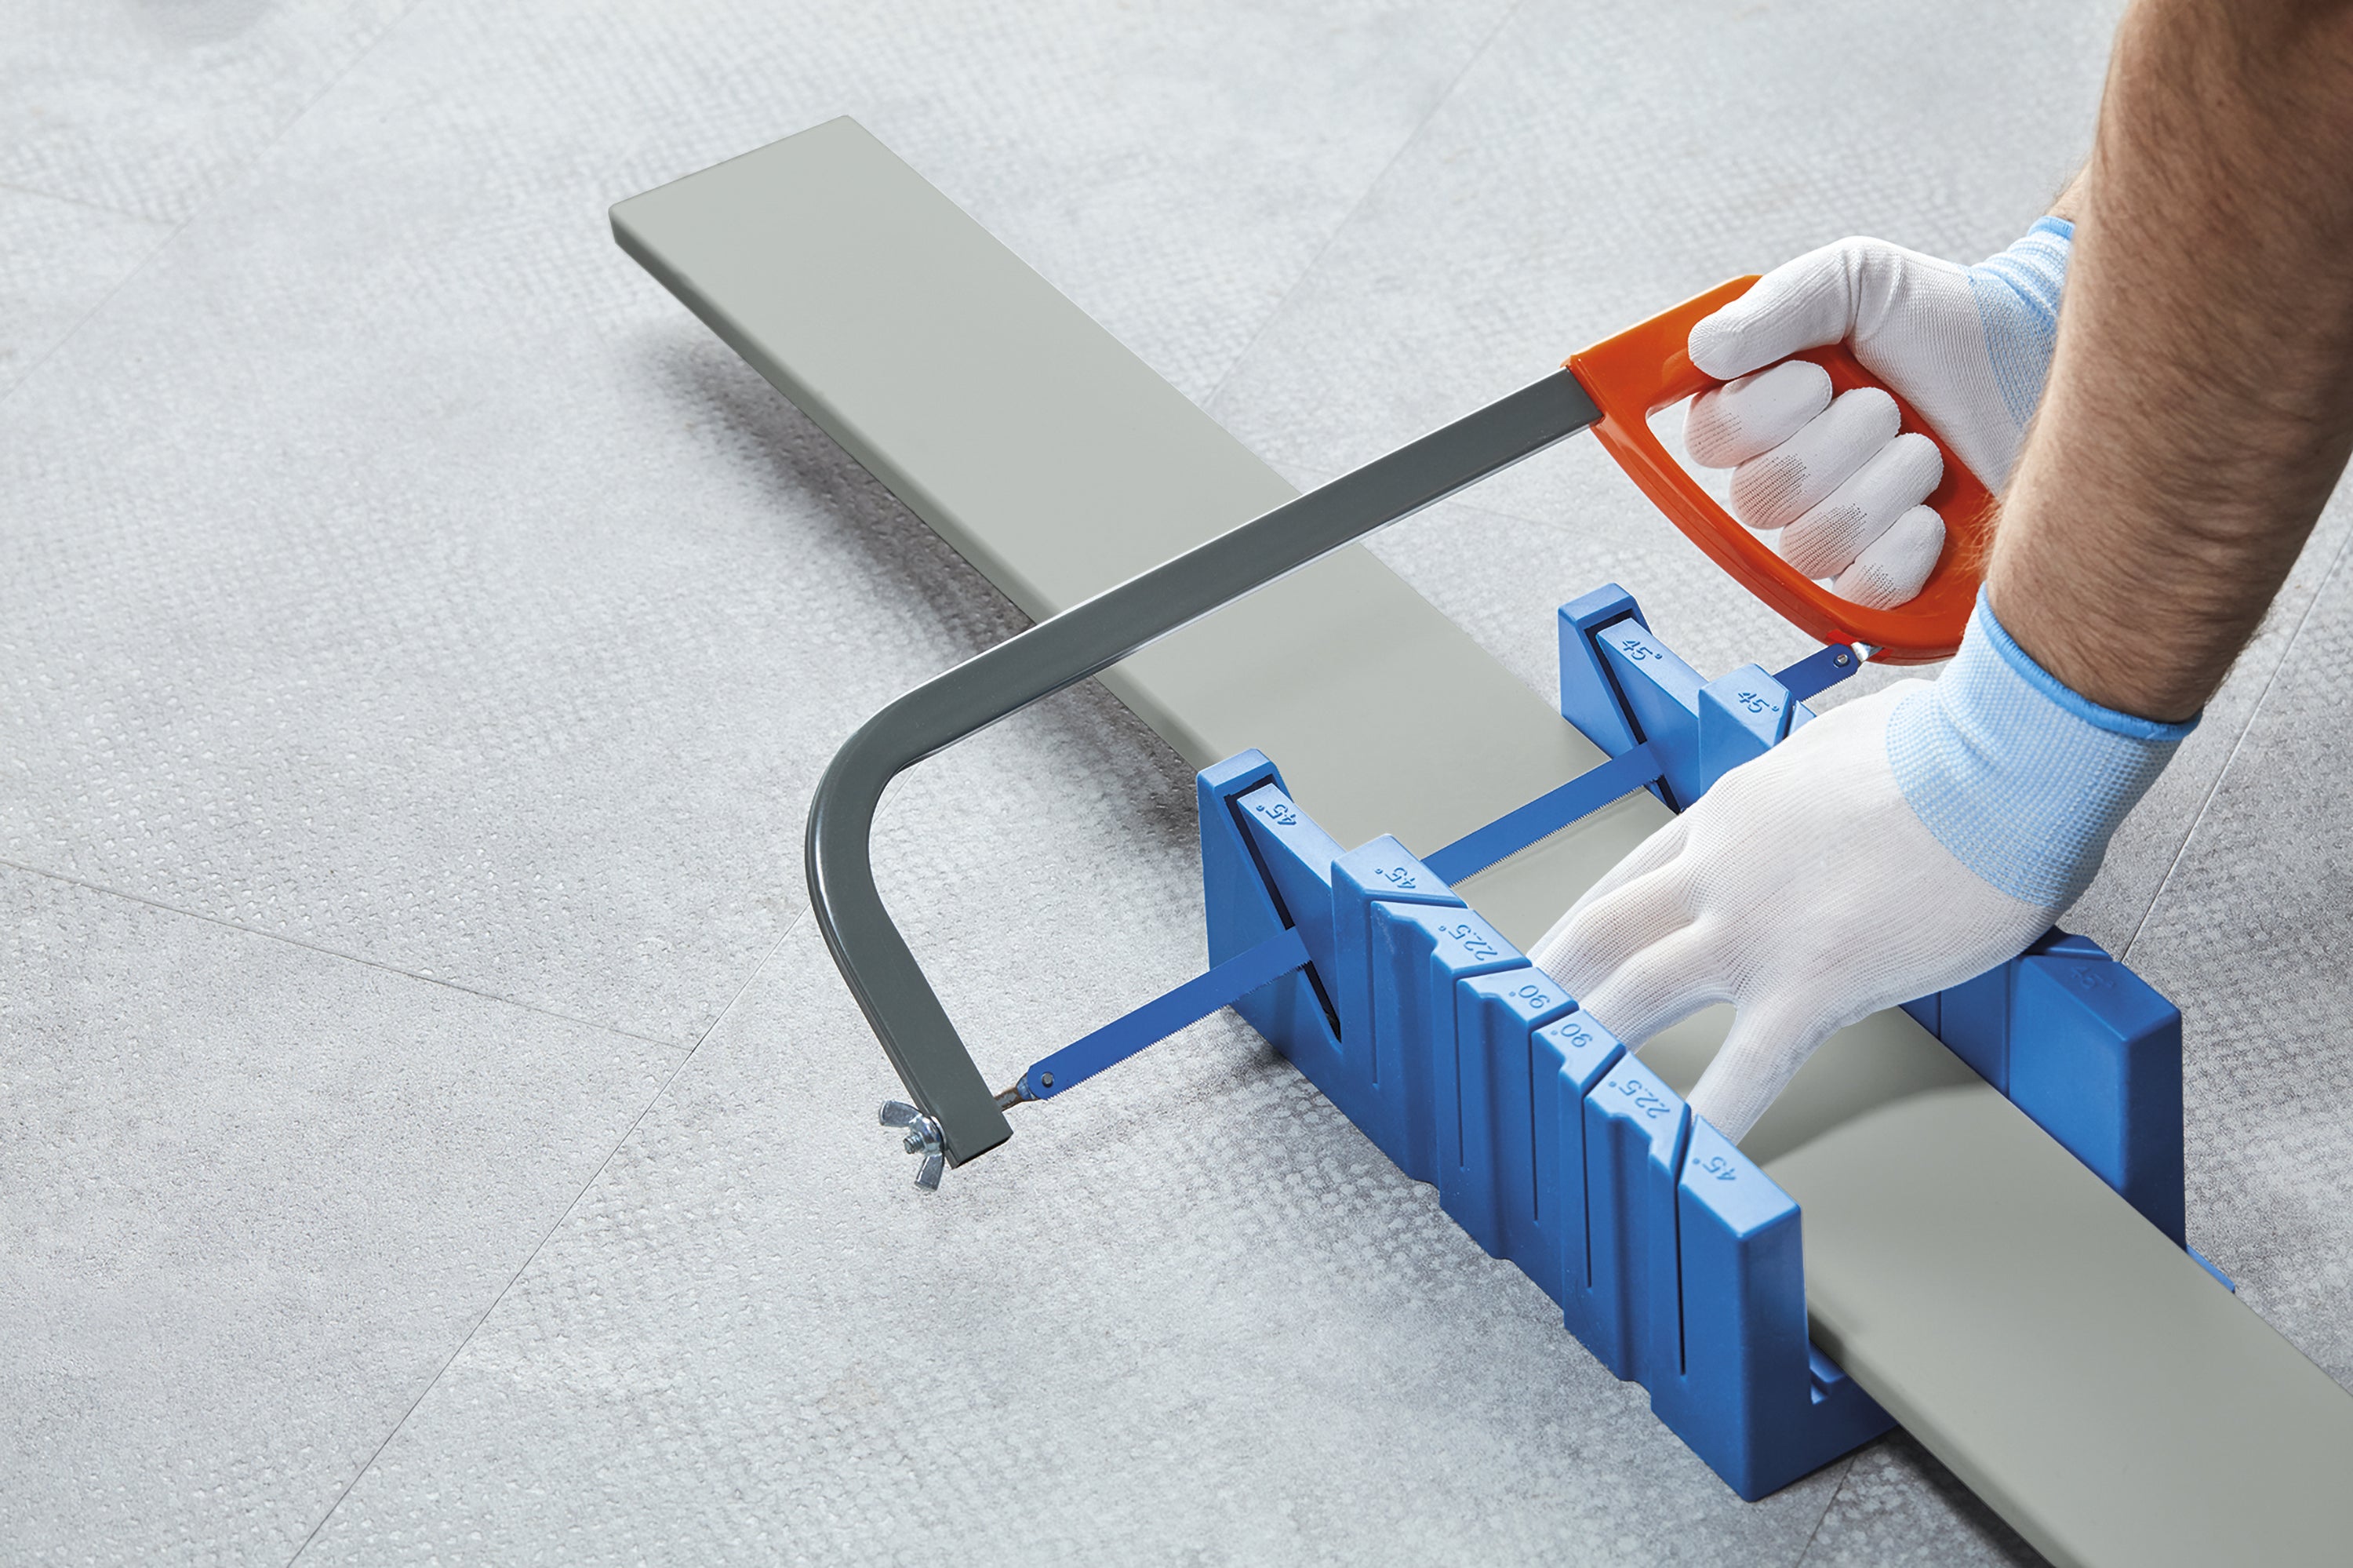
A perfect floor finish depends on the details, and the most challenging stage of the work is the precise fitting of corners. Cutting profiles yourself can be a design challenge, but mastering the right technique guarantees a perfect visual effect without gaps. Learn a professional way to aesthetically cut and install finishing elements without the use of plastic accessories.
How to prepare for precise cutting?
Before reaching for the saw, it is crucial to accurately measure the geometry of the room. Although standard corners are theoretically 90°, in practice walls often deviate from the ideal, which requires minor adjustments to the cutting angle.
For working with plastic profiles, a hand saw with fine teeth or an electric miter saw is best. Guide the tool steadily so that the edge remains smooth and the material does not chip. All geometric defects created at this stage will be visible after installation, so haste is not advisable.
If you are looking for a material that combines the highest durability with flexibility, making it easy to adapt to uneven walls, the Masterline PVC skirting board 13x80mm Cezar white RAL9003 matt will be an excellent choice. This model perfectly fits modern trends and allows for a sharp, clean miter cut.
Installation of internal corner without accessories
An internal corner occurs where two walls converge towards the center of the room.
1. Cutting the profile at a 45° angle
Place the skirting board in a miter box or set the appropriate angle on a mechanical miter saw. Cutting rule: For an internal corner, the back plane of the strip (adhering to the wall) must remain longer than its front plane (visible from the room side) after cutting. Cut the first strip, and press the second one in a mirror image.
2. Application of mounting adhesive
Thoroughly dust and clean the back of the cut elements. Apply an even bead of dedicated adhesive – the optimal choice is the 290ml Expert white Creativa by Cezar mounting adhesive which is characterized by high initial bonding strength and is applied along the factory adhesive channels on the back of the skirting board.
3. Positioning in the corner
Place both cut strips simultaneously in the corner, controlling the point of contact of the edges. Dry fitting the elements before final pressing will allow you to verify that the edges meet without gaps.
4. Pressure and stabilization
Once the edges fit perfectly, firmly press both strips against the wall surface along their entire length. Hold the profile for the time specified by the adhesive manufacturer to ensure stable initial bonding.
Installation of external corner without accessories
An external corner is formed at wall bends protruding into the room (e.g., near columns).
1. Cutting the profile at a 45° angle
Place the material in the cutting trough or on the miter saw workbench. Cutting principle: For an external corner, the front (decorative) plane must remain longer than the plane touching the wall after cutting. Guide the fine-toothed saw blade slowly and steadily.
2. Adhesive application
Clean the surface of any dust generated during sawing. Apply a layer of adhesive to the rear mounting grooves. In the miter area itself (sharp 45° edge), apply slightly more adhesive so that the profiles are permanently bonded at the joint edge after connection.
3. Edge fitting
Attach the profiles gradually, guiding them towards each other at the wall break. The external point of contact must form an even, sharp and closed vertical line without any up-and-down displacement.
4. Final pressing
Press both elements firmly against the surface with a decisive movement. Any excess adhesive that may slightly seep out at the miter joint due to pressure should be immediately removed with a damp, absorbent cloth.
Common mistakes during processing and installation
-
Failure to account for wall curvature: Cutting strictly at a 45° angle on splayed or narrow walls creates visible gaps. Always verify the angle before the final cut.
-
Cutting the miter in the wrong direction: Confusing the orientation of an internal corner with an external one is the most common cause of material waste.
-
Neglecting stabilization: Skipping dedicated support points weakens the structure. When mounting with system clips, remember that the Cezar clip pad should be a maximum of 5 cm from the corner, and subsequent points every 30–40 cm.
Work summary – installation checklist
-
[ ] Measure the actual angle in the room corner before cutting.
-
[ ] Choose the right tool with fine teeth dedicated for plastics.
-
[ ] Make a trial cut on a small, scrap piece of skirting board.
-
[ ] Degrease, dust, and dry the back of the profile and the wall surface.
-
[ ] Apply dedicated adhesive to the back of the skirting board.
-
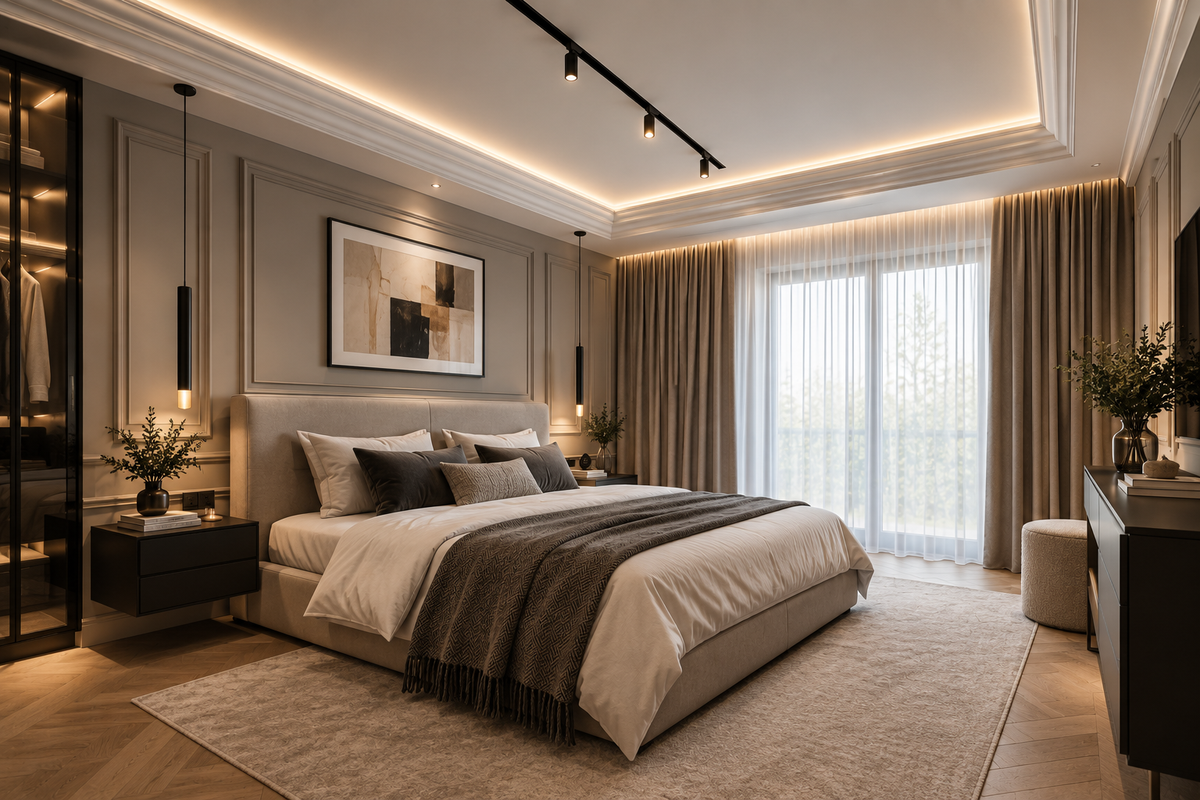
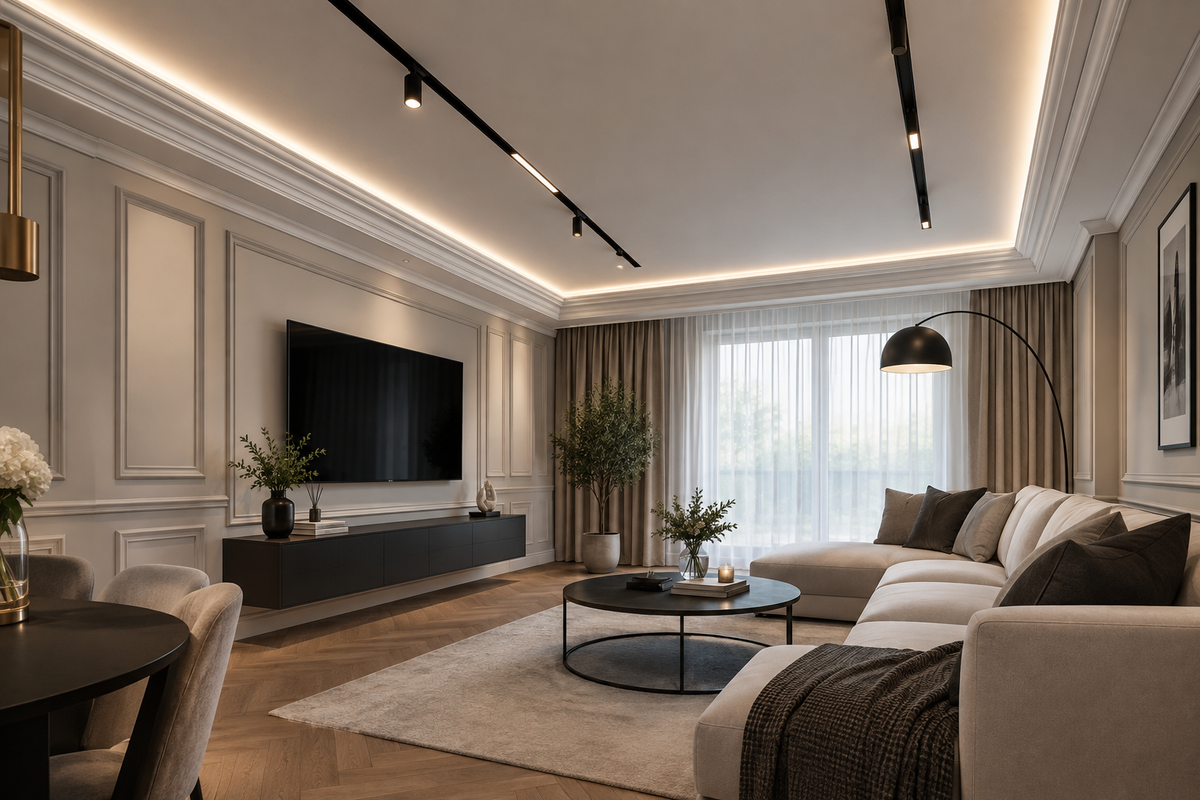
[ ] Ensure an aesthetic finish, checking how modern stucco and wall decorations complement the floor line.
Frequently Asked Questions (FAQ)
How to mask a minimal gap in a corner after a 45-degree cut?
Small imperfections at the joint of two profiles can be carefully filled with construction acrylic in the color of the profile or white mounting adhesive, immediately removing any excess with a damp cloth.
Can every skirting board be cut at a 45-degree angle?
Most hard materials are ideal for miter cutting. For flexible models made of thin PVC, a safer and more aesthetic solution is to use ready-made system accessories mounted at a 90° angle.
What is the best way to cut polymer profiles without chipping the edges?
The best results are achieved with a fine-toothed hand saw for metal or a mechanical miter saw equipped with blades with a high number of teeth, operating at constant, stable speeds.
Where to find proven skirting profiles for DIY cutting?
All necessary mounting elements and profiles with high resistance to moisture and mechanical damage can be found directly in the category covering Masterline skirting boards, designed for a simple and aesthetic interior finish.
Share:
MDF or PVC? Comparison of skirting boards [Pros and Cons]
Jakie są najpopularniejsze materiały na listwy przypodłogowe? Przewodnik i porównanie