
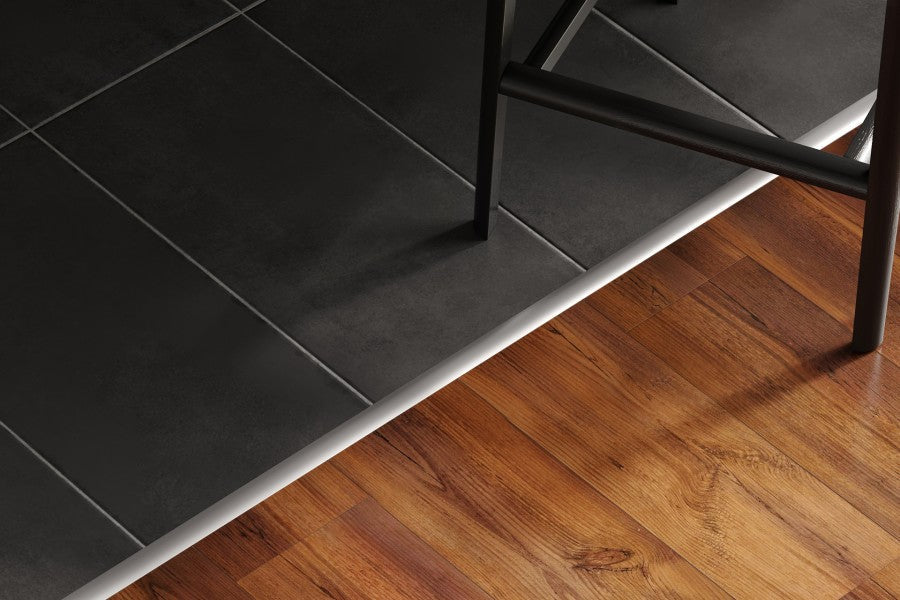
Joining different types of flooring in transition areas is one of the most challenging aspects of any renovation. An unsightly expansion gap between tiles and panels can spoil the effect of even the most beautiful arrangement. The solution to this problem lies in appropriately selected threshold profiles, which not only mask technical gaps but also protect edges from damage. This guide will show you how to go through this process step by step.
Step 1: Determine function and level difference
The first step is to precisely measure the transition area and assess what kind of connection you are dealing with. The floorings can meet perfectly at one level or create a smaller or larger step.
-
Even connections: If the panels and tiles have the same height, a classic, smooth expansion profile, such as the aluminum joint profile, will be the ideal solution. It perfectly masks gaps up to several millimeters wide.
-
Small and medium level differences: For standard steps, universal multifunctional solutions work well. A good example is the aluminum 5-in-1 threshold strip in clay oak, which allows for aesthetic leveling of height differences and joining of floors with varied mounting specifications.
-
Large level differences: When joining thick parquet with thin carpeting or tiles, a ramp profile will be necessary. In such situations, a dedicated slanted aluminum threshold strip allows for a safe and smooth transition without the risk of tripping.
Step 2: Choosing the right material and width
The material from which the profile is made directly affects its durability and resistance to loads or moisture. In areas with high traffic, such as corridors or transitions from the living room to the kitchen, anodized or laminated aluminum works best.
The width of the strip should be matched directly to the width of the expansion gap left by the installers. Remember that the profile must fully cover the edges of both floorings with a safe margin. For wide expansion joints or places where the tile edges were slightly chipped during cutting, a wide flat aluminum strip with rubber is recommended. The integrated rubber additionally dampens vibrations and seals the structure against dirt penetration. In standard layouts, however, a classic 35mm 5-in-1 flat aluminum threshold strip will be entirely sufficient.
Step 3: Matching color and texture to the arrangement
Visual consistency is key to an elegant interior. Threshold profiles can be selected in two ways: by matching them to the shade of one of the floors (most often wooden) or by treating them as a neutral, metallic accent that harmonizes with door fittings or lamps.
In modern and minimalist spaces, matte finishes work perfectly. Gold or champagne shades add a subtle premium character to the arrangement, while wood-like profiles allow for optically blending the transition, making the dividing line almost invisible to the eye.
Step 4: Choosing the mounting method
The last step is to decide on the installation method of the strip. This affects both the aesthetics and the stability of the entire threshold.
-
Invisible mounting (with dowels / base profile): The most aesthetic option, where no screws are visible on the surface of the strip. Most multifunctional systems are mounted using hidden screws inserted into the bottom rail of the profile.
-
Adhesive mounting: Ideal for underfloor heating, where drilling into the screed carries the risk of damaging the heating installation. Many profiles have a factory-applied strip of strong, permanently active adhesive or require the use of chemically neutral mounting adhesive.

Common mistakes when choosing threshold profiles
-
Incorrect measurement of the expansion gap: Buying a strip that is too narrow and does not fully cover the active edges of the floor.
-
Ignoring level differences: Attempting to press a flat profile onto floorings of different heights, resulting in material deformation and quick detachment.
-
Using aggressive chemicals for installation: Using acidic adhesives that can permanently damage or discolor the aluminum surface.
Selection summary – a quick checklist
-
[ ] Measured width of the expansion gap between rooms.
-
[ ] Verified and determined level difference (no step, small step, or large threshold).
-
[ ] Selected material (durable, corrosion-resistant, and abrasion-resistant aluminum).
-
[ ] Color scheme matched to the floor or fittings in the house.
-
[ ] Safe mounting method (adhesive for underfloor heating, dowels for traditional flooring).
FAQ
How to mount a threshold profile if underfloor heating is embedded in the screed?
In such situations, absolutely avoid drilling. Choose a profile mounted with a durable, flexible mounting adhesive or use products with a factory-applied adhesive layer, which eliminates the risk of damaging heating pipes.
Can a threshold strip compensate for a large height difference between rooms?
Yes. Special ramp profiles are designed for this task, handling steps of even more than several millimeters, creating a gentle and safe transition.
Where can I find a complete offer of profiles for floor finishing?
All types of profiles matched to various technical and visual needs are included in the complete Cezar threshold profiles category, where you can easily choose a product tailored to the requirements of your interior.



Share:
Stucco in Interiors: How to Add a Classic Touch to Your Design, Step by Step
What plinth height to choose? A guide to sizes (60, 80, 100, 120 mm)