
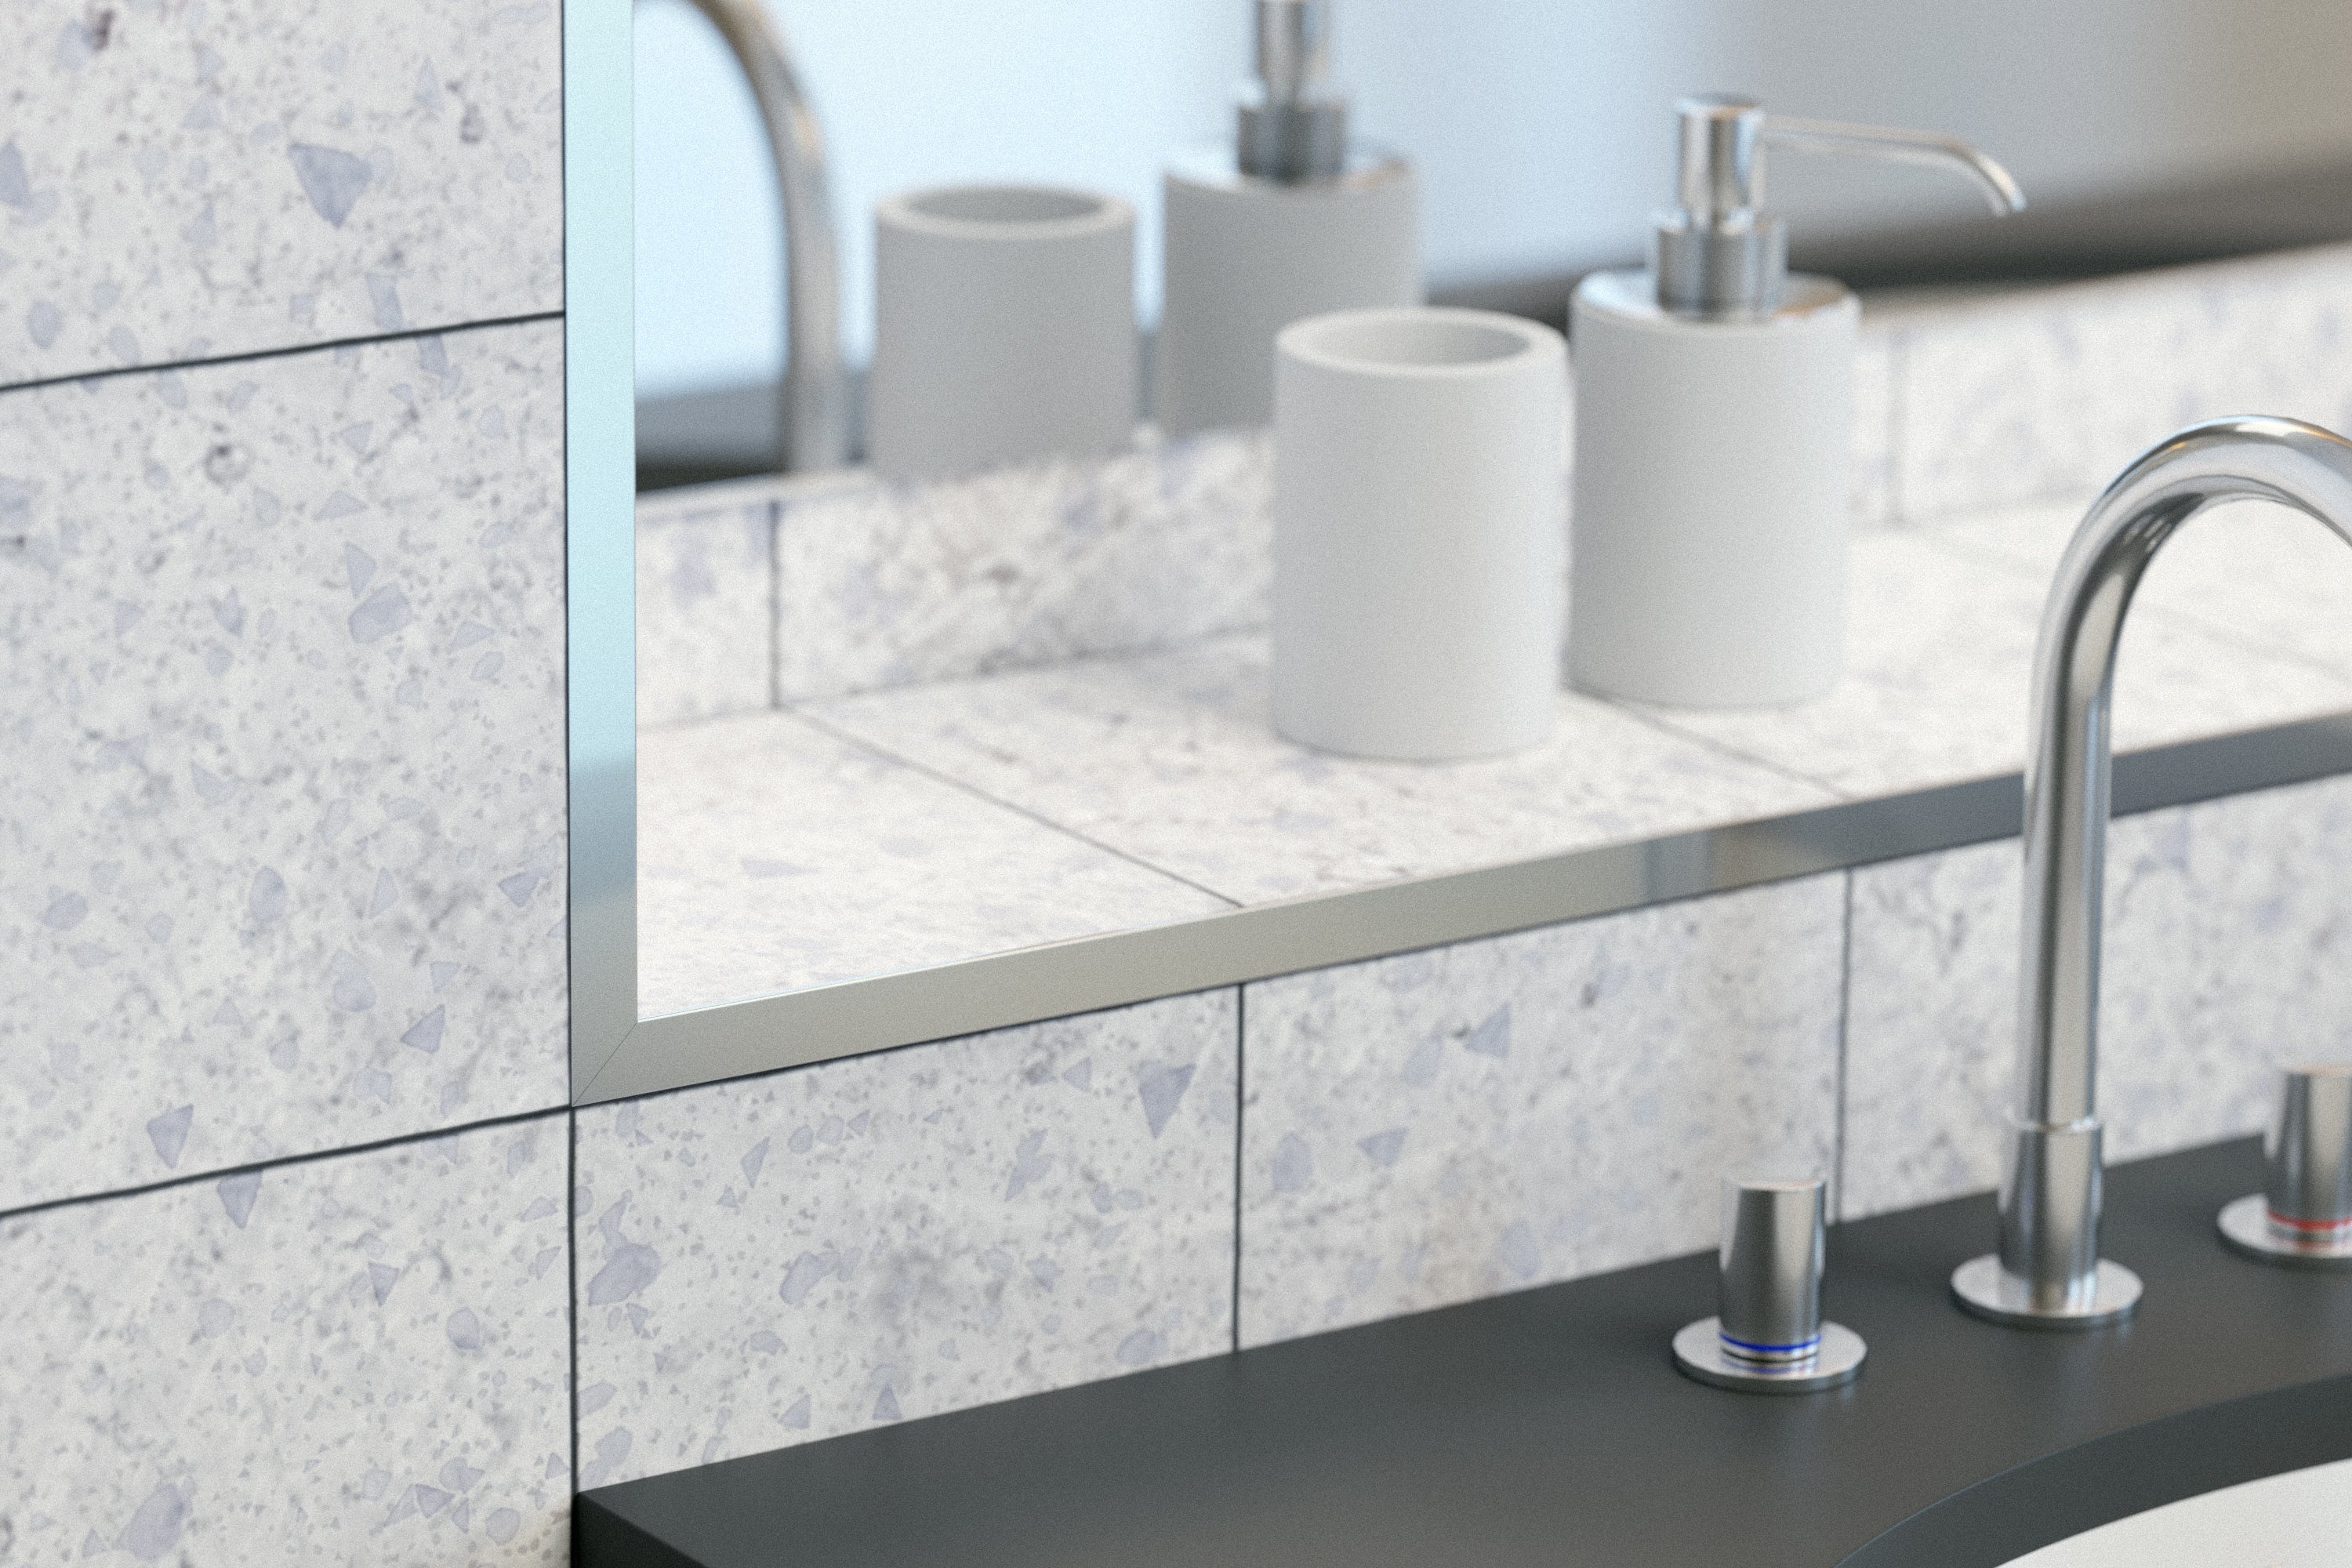
Laying ceramic tiles in a bathroom, kitchen, or hallway requires precision and careful attention to finishing details. Without proper protection for the edges of the tiled surface, exposed edges remain vulnerable to mechanical damage, chipping, and the damaging effects of moisture.
Find out how to choose and install professional profiles for ceramic and terracotta tiles, so you can enjoy a durable, safe, and aesthetically finished space for years to come.

Why use finishing profiles for ceramic tiles?
Traditional tile mitring (grinding at a 45-degree angle) is time-consuming and significantly weakens the ceramic along its edges. Dedicated finishing trims eliminate this problem, offering a range of specific technical and practical benefits:
-
Tile edge protection: They absorb loads and impacts in areas most susceptible to chipping, such as corners and steps.
-
Household safety: They cover the sharp edges of cut tiles, which is especially important in homes with children.
-
Watertightness and easy cleaning: They prevent water, dust, and dirty deposits from getting under the tiles in wet areas.
-
Aesthetics and design consistency: They create perfectly straight dividing lines and allow materials of different thicknesses to be joined elegantly.
How to choose the right profile for your interior and tile covering?
The right choice depends on the tile specifications, the room, and the conditions of use.
1. Height and dimensions
The profile height should match the tile thickness plus the layer of adhesive applied (usually allow an extra 1–1.5 mm). The profile must not sit below the tile edge or protrude above it.
For standard finishing work, the versatile L-shaped edge profile (e.g. L10, L12.5) works very well, fitting snugly against the edges of the ceramic tiles.
2. Material
-
Aluminium (anodised or powder-coated): Corrosion-resistant and lightweight, making it ideal for modern bathroom and kitchen designs.
-
Stainless steel (brushed or polished): Offers the highest resistance to mechanical damage and chemicals. Choose durable stainless steel profiles for walk-in showers and heavily used areas.
-
Brass: An exceptionally rigid and durable material with a refined, decorative appearance.
-
PVC: A flexible, cost-effective solution that is completely waterproof and designed for standard domestic applications.

3. Purpose and specific areas
-
External corners: Choose a classic corner profile or a reinforced corner profile with an edge, which effectively protect the junction between walls from impact.
-
Internal corners: Use internal tile profiles, which make it easier to keep the junction between walls or between a wall and the floor clean.
-
Shower area: shower tray profiles ensure water drainage and a neat slope.
-
Non-standard surfaces: For arches and columns, use specialist profiles for arches, which can be bent freely.
-
Decorative details: To break up the uniform ceramic surface, incorporate decorative and ornamental profiles in the form of narrow accent strips.
-
Outdoor use: On terraces and balconies, dedicated balcony profiles, which channel rainwater away from the edge of the concrete slab.
Installing a profile in practice – step by step
Here is a proven procedure for correctly installing a tile trim on a wall or floor:
+-------------------------------------------------------------------+
| 1. Prepare the substrate – clean, level and dust off the surface.|
| 2. Cut the profile to the desired length with a saw.             |
| 3. Apply adhesive and position the profile for installation.       |
| 4. Tap the profile with a rubber mallet until adhesive comes through.|
| 5. Lay the next row of tiles and check vertical alignment.        |
+-------------------------------------------------------------------+
-
Preparing the substrate: The surface on which the tiles are laid must be clean, level and free of dust.
-
Cutting the profile: Clamp and cut the profile using a fine-toothed hand saw or a mitre saw. Avoid grinding with discs without speed control to prevent overheating the material.
-
Applying the adhesive: Apply adhesive to the substrate where the profile will be installed.
-
Positioning and pressing into place: Position the profile and press it against the substrate with a rubber mallet so that the adhesive fully passes through the perforations in its mounting flange.
-
Installing the next row of tiles: Lay the next row of tiles, pressing them against the profile being installed, and remember to check vertical alignment and level as you go.
-
Cleaning after installation: Immediately wash any excess tile adhesive or grout from the decorative part of the profile with clean water.
Common mistakes when installing tile profiles
Avoid the following mistakes to ensure maximum installation durability:
-
Voids beneath the profile flange: Insufficiently embedding the perforated flange in adhesive weakens the profile's support and leads to cracked grout joints.
-
Cleaning with corrosive chemicals: Using products containing chlorine or acids on metal surfaces damages the paint and anodized coatings.
-
Failure to check vertical alignment: Installing the profile by eye results in visible deviations along the entire length of the corner.
Summary – safe installation in a few steps
-
[ ] Measure the exact tile thickness and allow extra room for the adhesive layer (approx. 1–1.5 mm).
-
[ ] Choose the profile material according to the area (stainless steel/aluminium for wet areas).
-
[ ] Embed the perforated profile base in adhesive along its entire length.
-
[ ] Clean adhesive residue from the decorative surface as you go.
FAQ – Frequently Asked Questions
What should I use to cut metal tile trim?
For precise cutting of aluminium, brass, or stainless steel profiles, it is best to use a fine-toothed hand saw or a mitre saw. Avoid tools that could cause the material to overheat.
How do I care for aluminium and steel profiles in the bathroom?
Use soft microfibre cloths and mild, pH-neutral detergents for cleaning. Avoid products containing chlorine, acids, or abrasive substances at all costs.
Can I use any silicone or adhesive with metal profiles?
Only chemically neutral mounting adhesives and neutral silicones that do not react with the metal coating should be used to install metal profiles.
Where can I find a full range of professional finishing profiles?
A wide selection of options suited to every type of interior is available in external tile trims, which effectively protect edges and enhance the aesthetic appeal of the entire space.



Share:
Skirting board corners, connectors and caps – how to use them?
Stair nosings – safety and aesthetics of steps. A finishing guide